Sheet
In Xmind, a single .xmind file has the capacity to generate multiple sheets for various mind maps. If a single mind map becomes crowded with information, compromising its readability, you have the option to create additional sheets. This allows you to distribute the contents of the mind map and showcase it across different sheets, thereby improving clarity and comprehension.

Edit Sheet
1. Create New Sheet
Click on the + sign to create new sheet
Simply hover your mouse to the bottom left corner of the window. Here, you’ll notice the name of the current sheet along with a ‘+’ sign. By clicking on the ‘+’ sign, you can instantly create a new sheet.
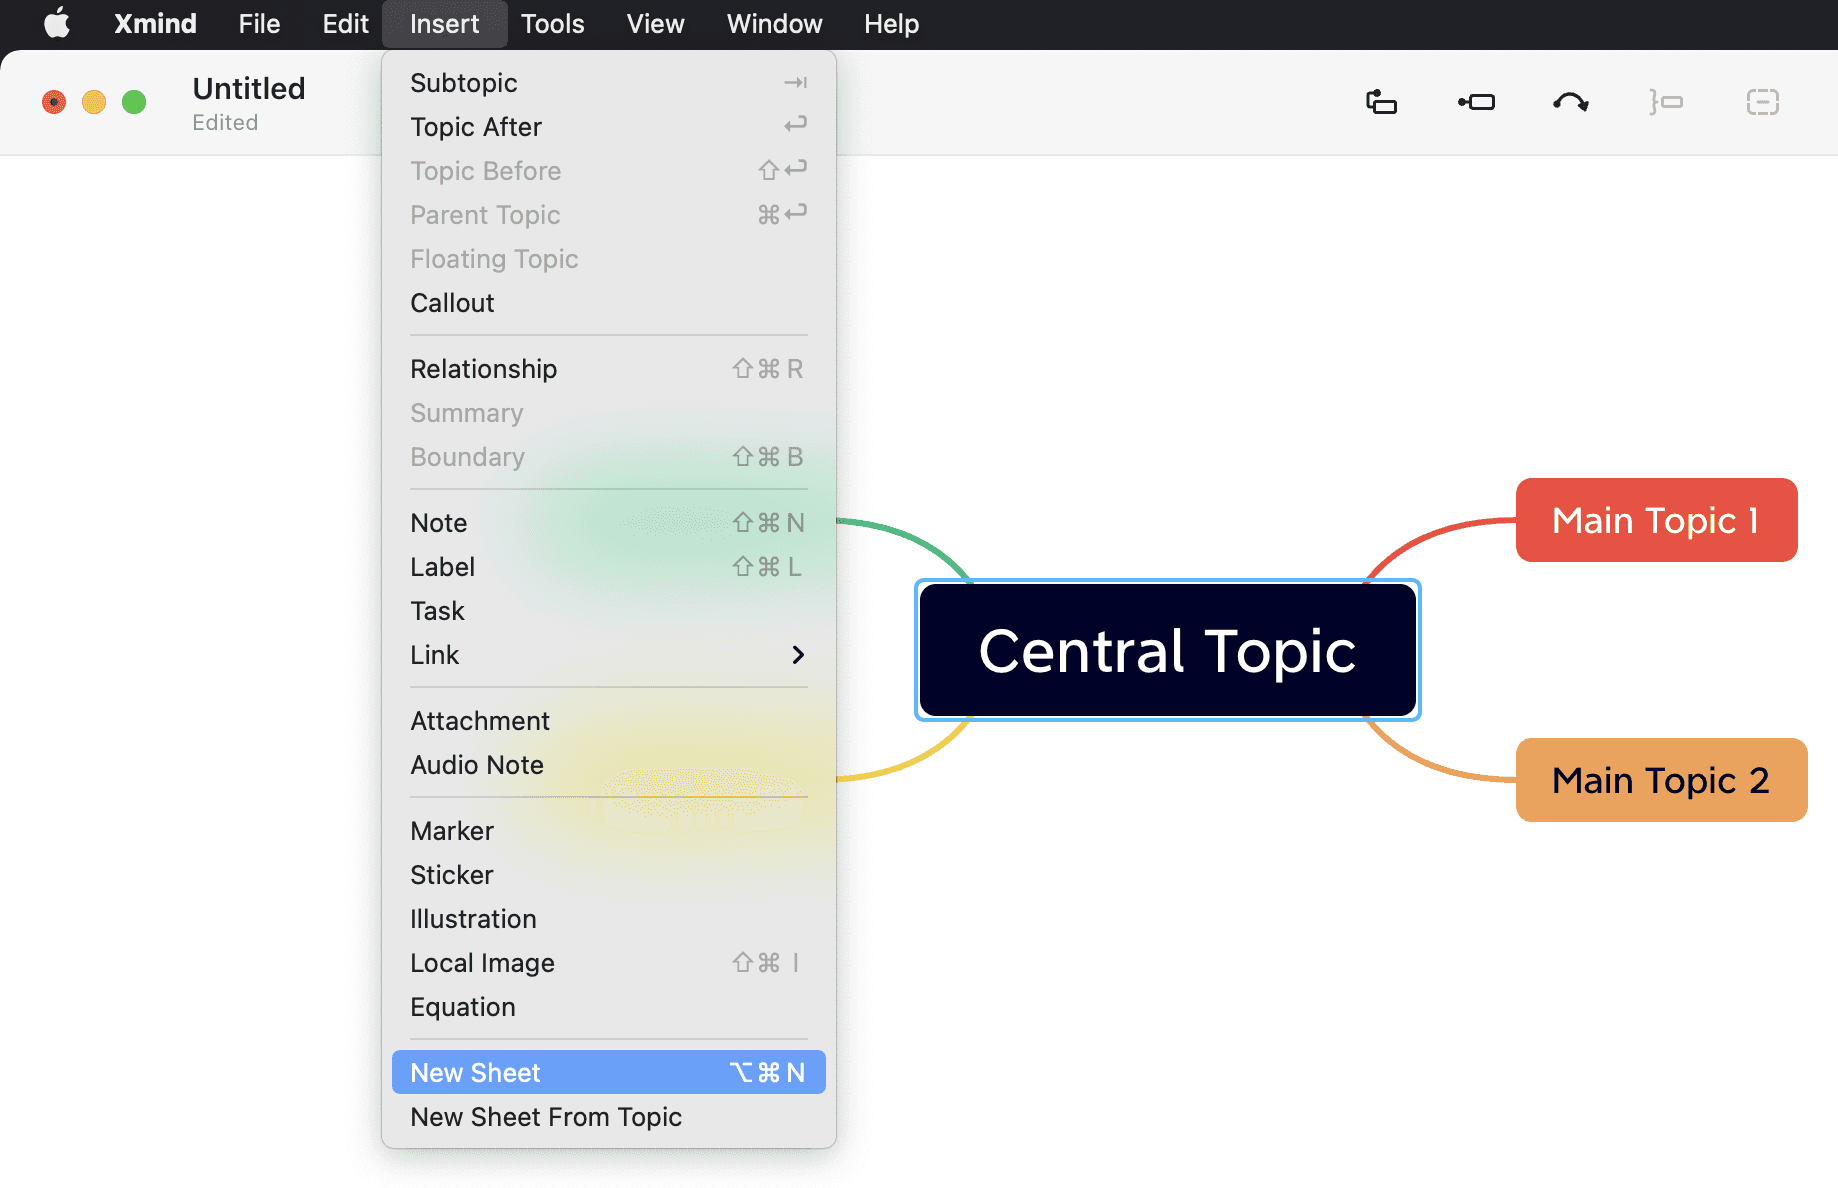
Click on New Sheet in Insert on the top menu bar.
New Sheet From Topic
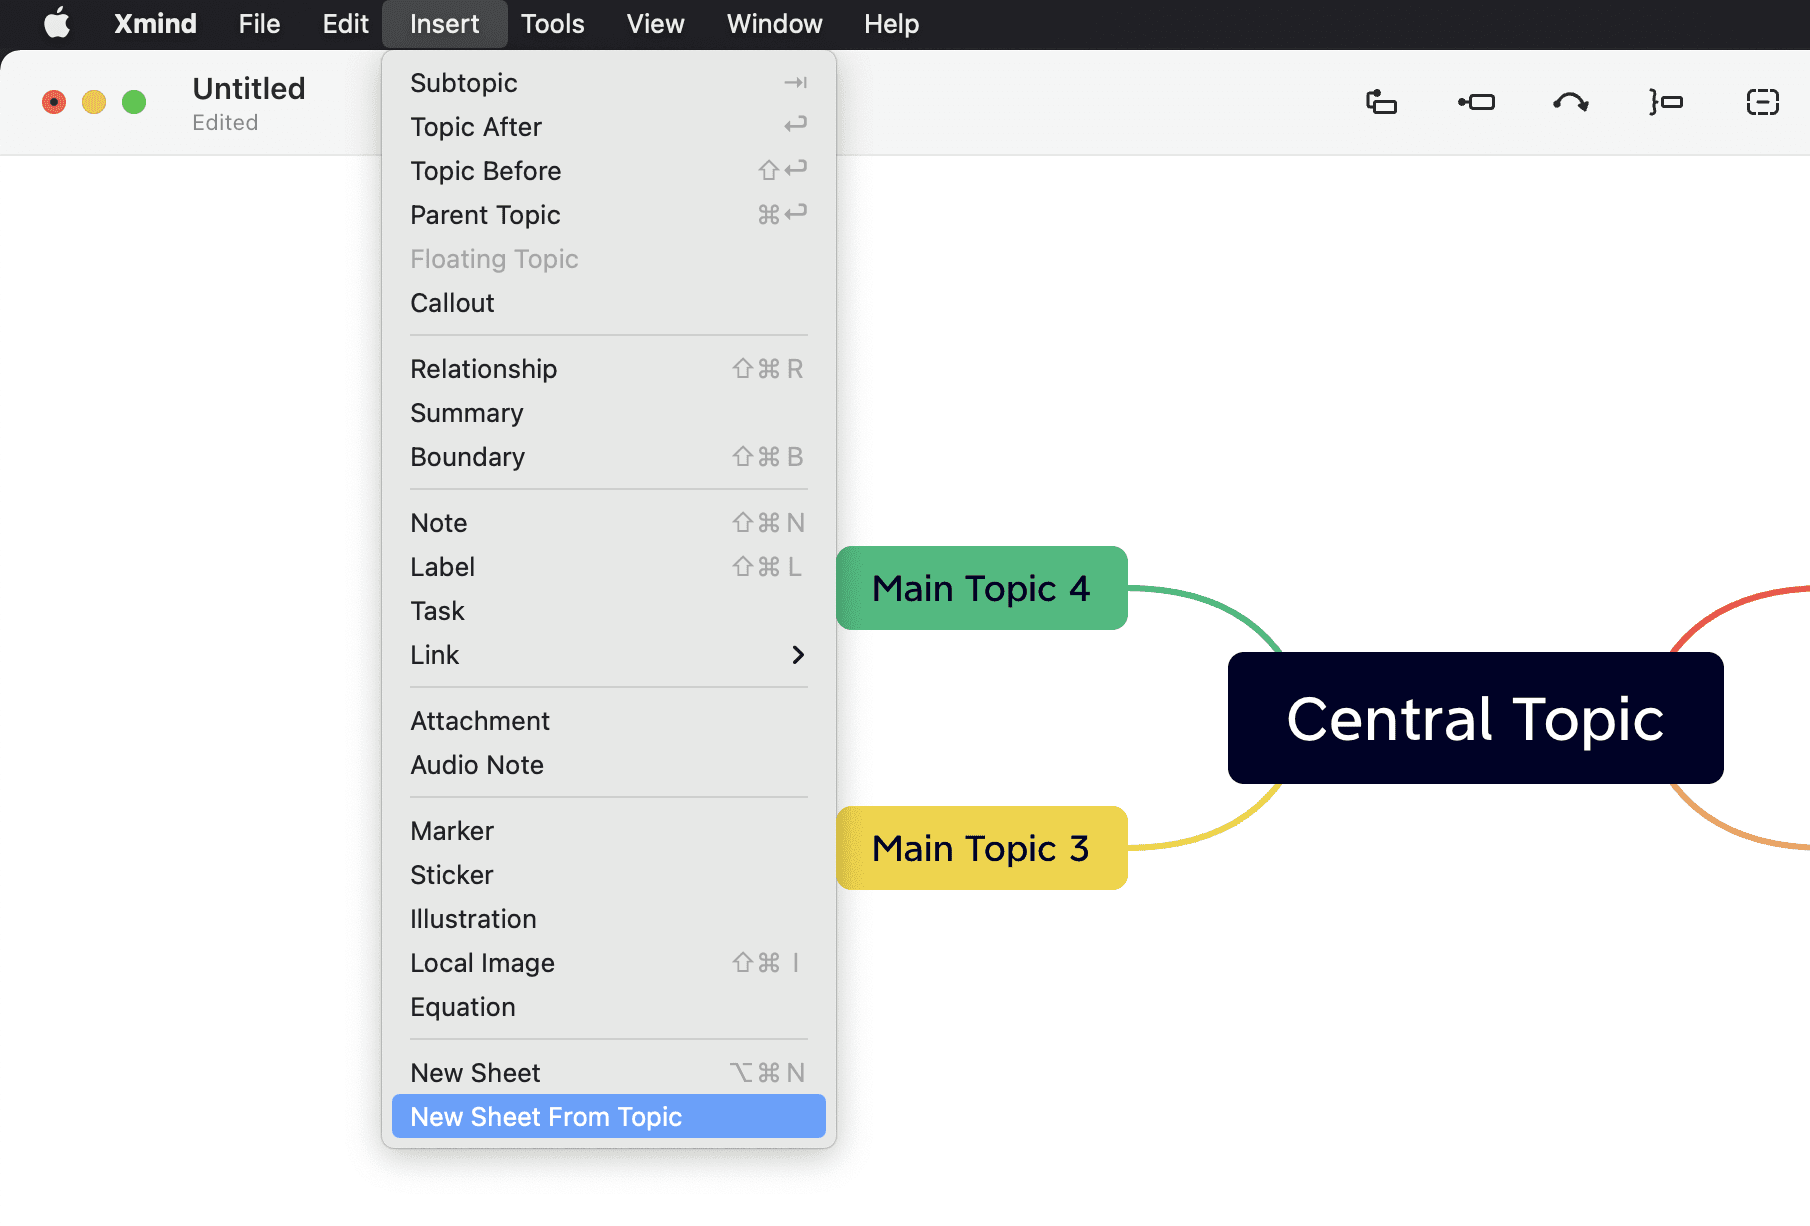
Select a specific topic, Right Click and select New Sheet From Topic.

Or find New Sheet From Topic in Insert on the top menu bar.
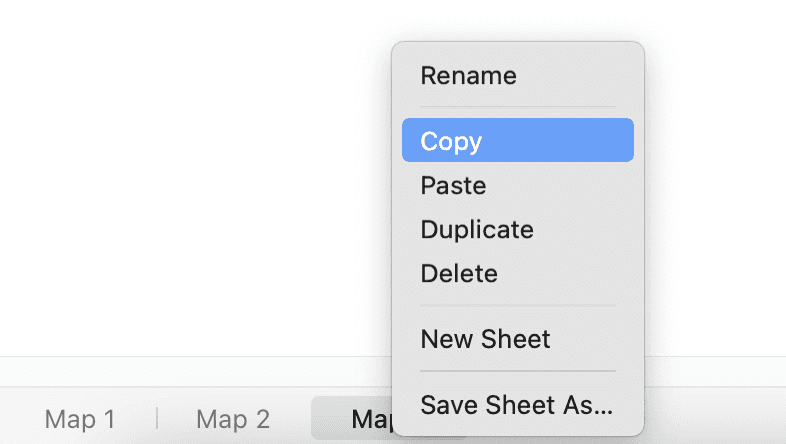
Beyond editing within the sheet, you can also Copy, Rename, Delete, and Duplicate it. To do this, hover your mouse over the sheet name and click on the drop-down arrow. Then, select the desired action.
Note: Multiple sheets will be saved simultaneously within a single .xmind file.
2. Save Sheet As…
A sheet can be saved separately as a new .xmind file.
Just move your mouse next to the sheet name, click on the drop-down arrow, select Save Sheet As…, and then select the storage location.

3. Drag & Adjust Sheet
In addition to do so by using touchpad, you can also use the mouse to drag and adjust the sheet.
Sliding Mouse/Touchpad
Hold down the right mouse button and drag
Direct drag and drop the topic
Change the Sheet Styles
Within the style settings of the sheet, you have the flexibility to customize numerous features. For instance, you can replace the skeleton, modify the color theme, and adjust the background color of your mind map. Options such as the Colored Branch and Branch Line Width are also available for you to adapt according to your preference. Moreover, we provide advanced layout adjustments, like Auto Balance Layout, Branching Free-Positioning,Topic Overlap, and the ability to modify the default CJK fonts, among others.
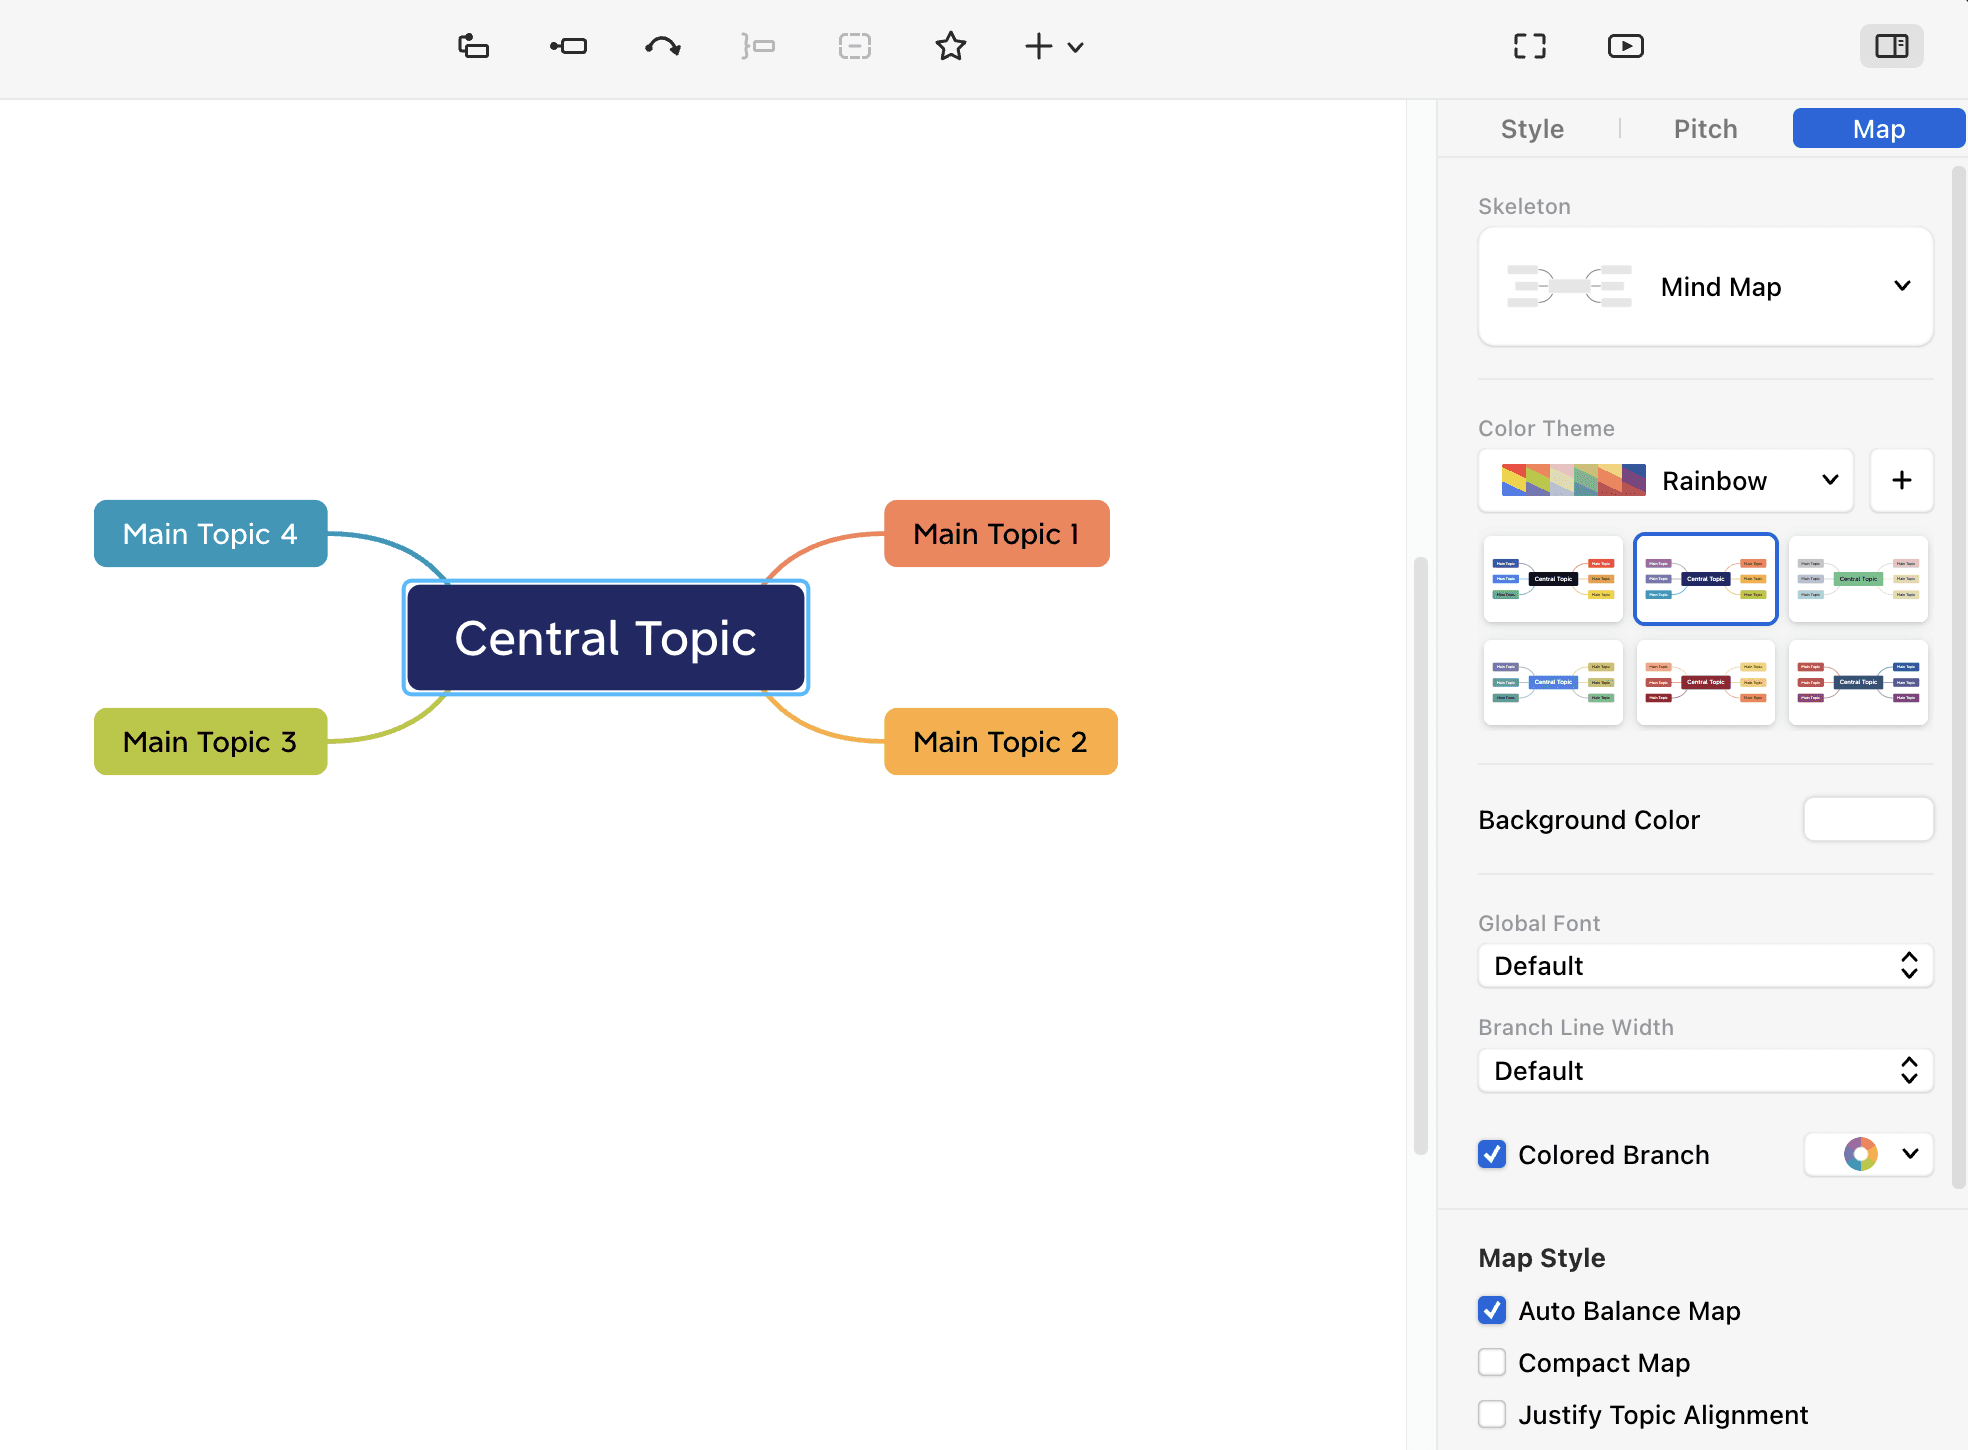
1. Replace Skeleton
Xmind offers a variety of mind map skeleton structures to choose from.
2. Modify Color Theme
Xmind supports free selection of color schemes. After selecting a general color, you can change the color combination in the six-panel grid. You can also customize the color scheme by clicking the plus sign on the right side of the layout.
3. Adjust Background Color
The mind map’s background color can be set by yourself. In addition to selecting an existing color from the palette, you can also enter a custom hexadecimal color code.
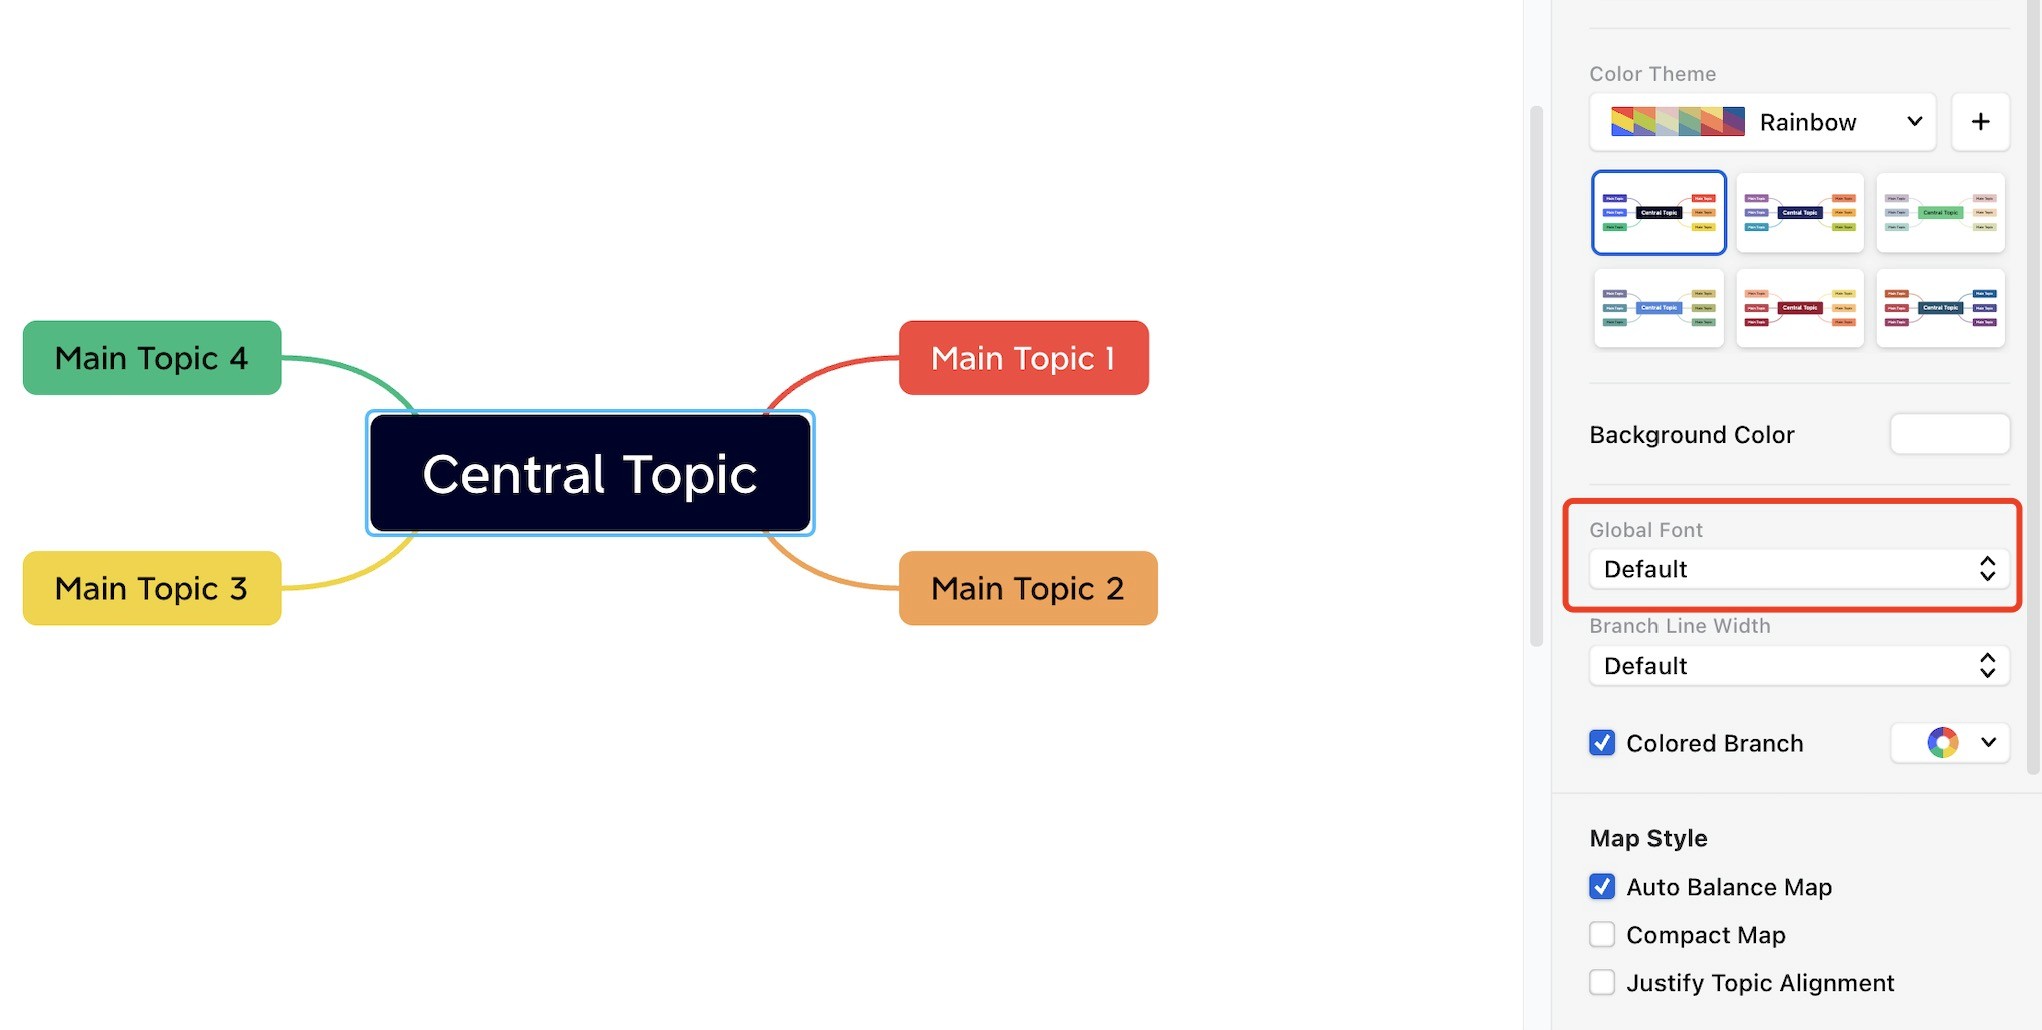
4. Select Global Font
Xmind support to change the global fonts of the mind map to adapt to different language requirements.
5. Branch Line Width
You could also modify the line width in Xmind, allowing for a dynamic, tapering effect where lines transition gradually from thick to thin.
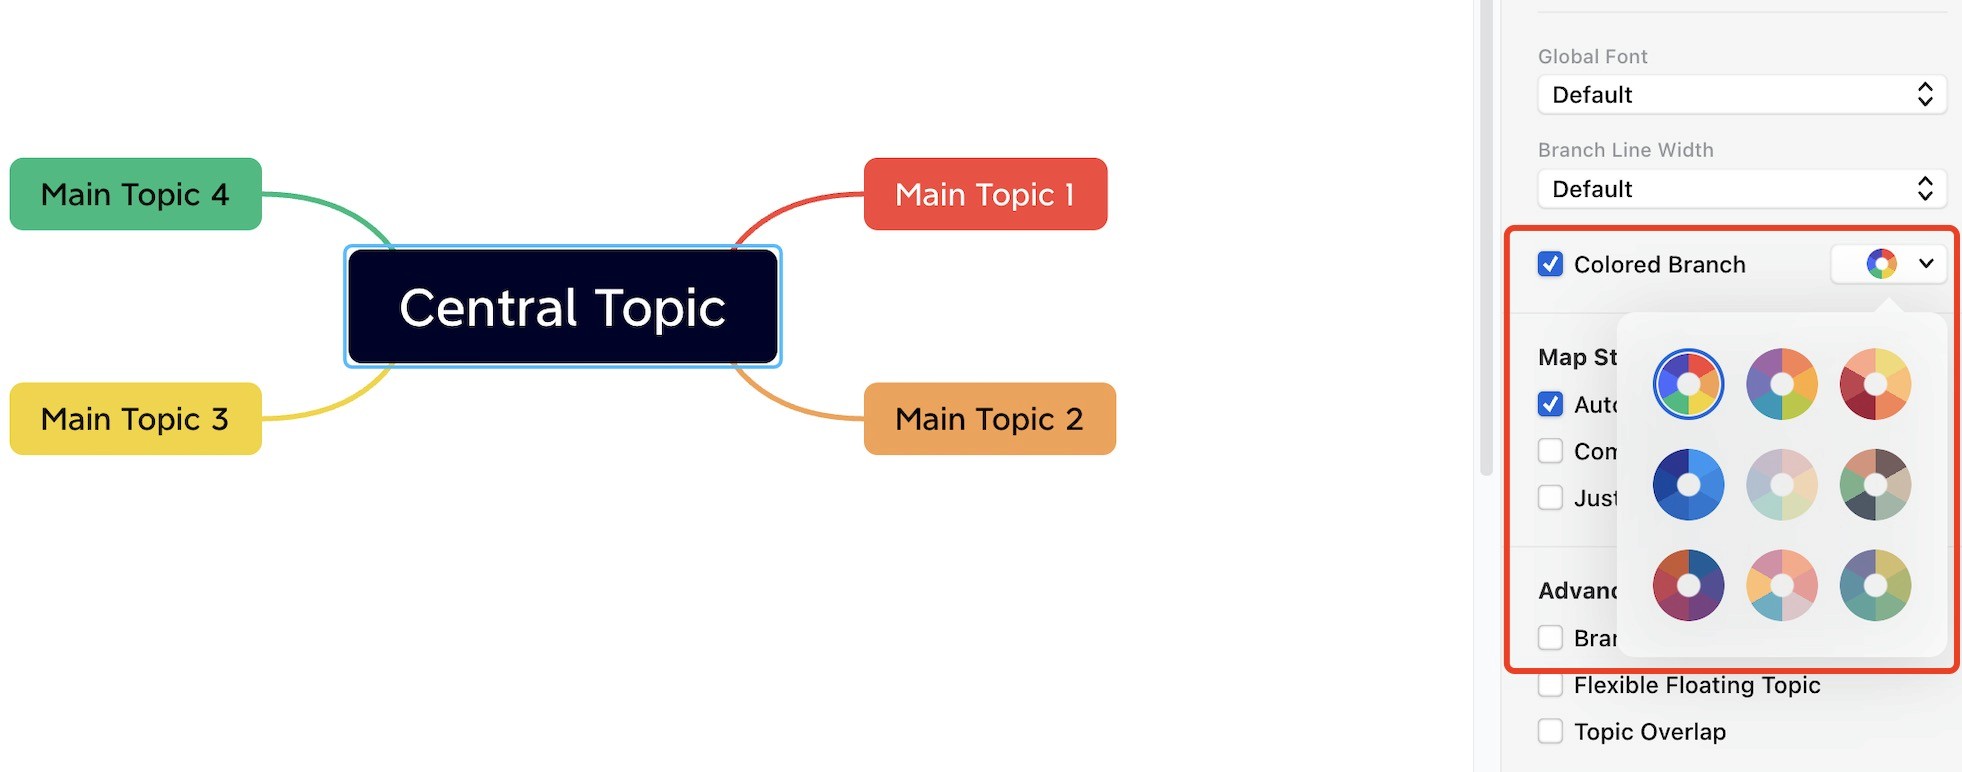
6. Colored Branch
We offer a wide range of branch color combinations, so it’s easy to choose the one that will make your mind maps look clearer and brighter.
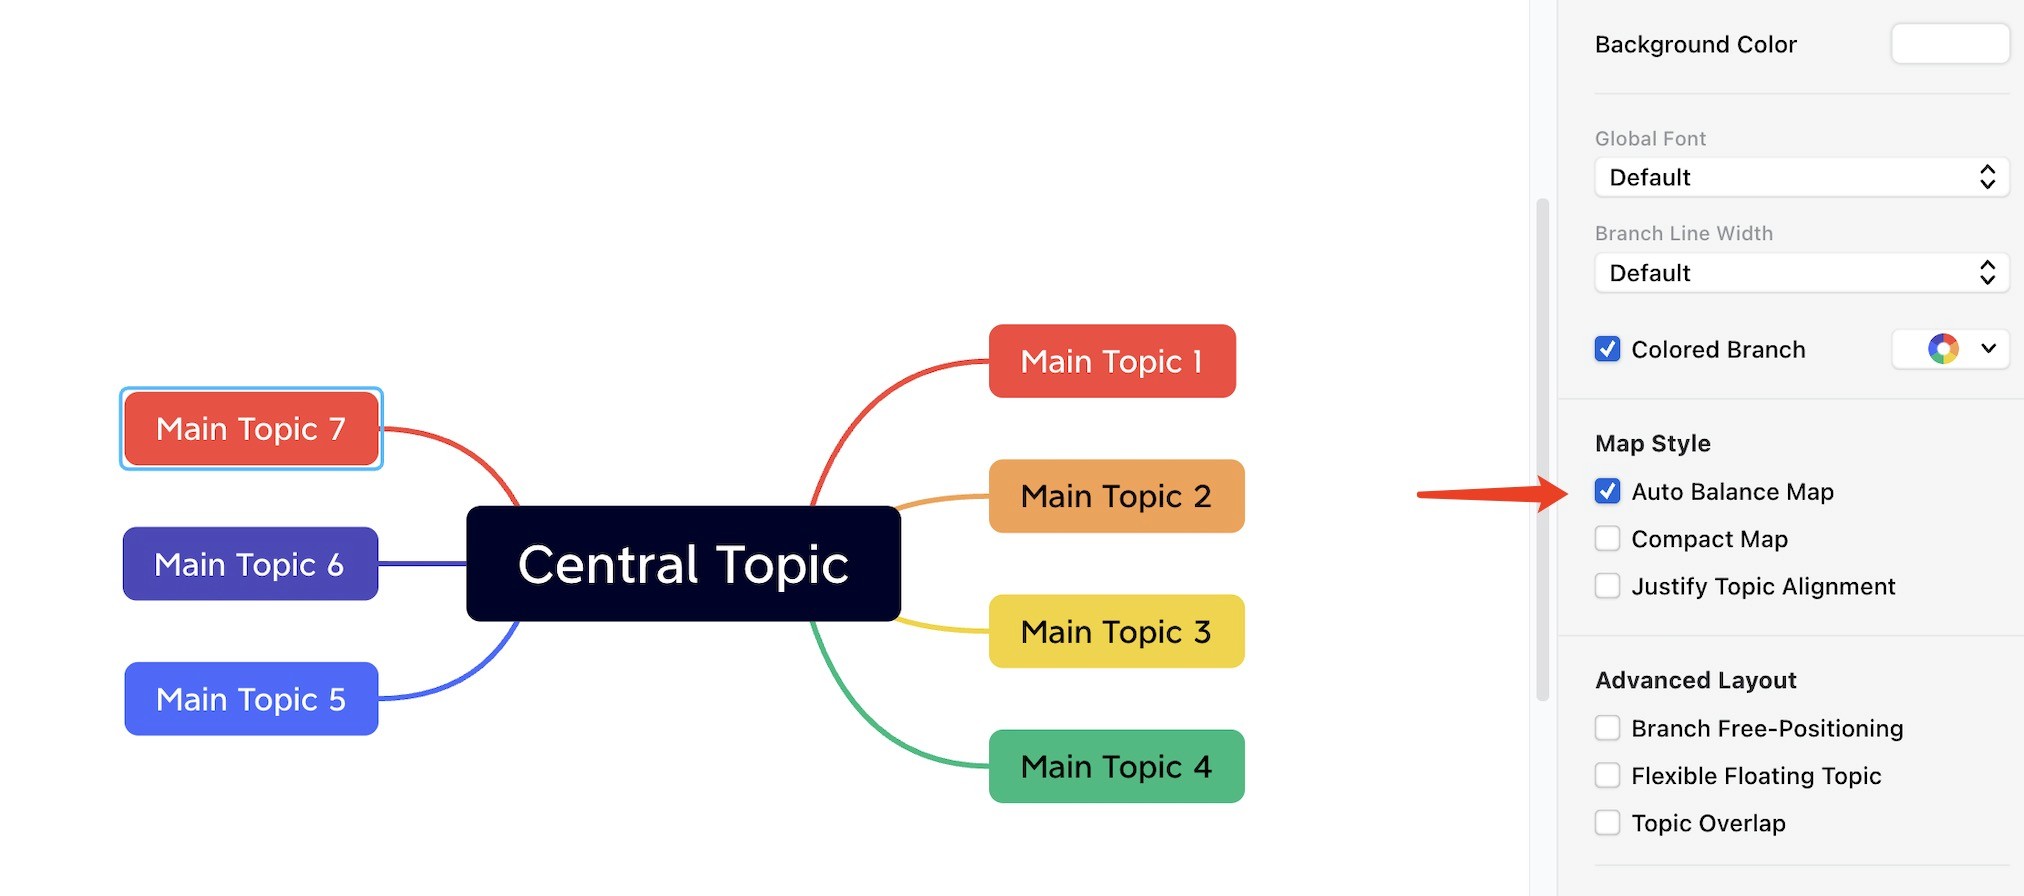
7. Auto Balance Map
Xmind offers automatic resizing for the mind map layout, ensuring a more proportionate and balanced appearance of the overall map.
8. Compact Map
Enabling this feature will yield a more compact layout, thereby providing a means to include a greater amount of information.
9. Justify Topic Alignment
Enabling this feature ensures that topics on the same level maintain an equivalent width, contributing to a more systematic and orderly appearance overall.
10. Branch Free-Positioning
This feature allows you to freely drag the topic around, ensuring precise control over its branch length and position.
11. Flexible Floating Topic
This feature provides expansive liberty for positioning floating topics, enabling you to place them anywhere within the sheet as per your preference.

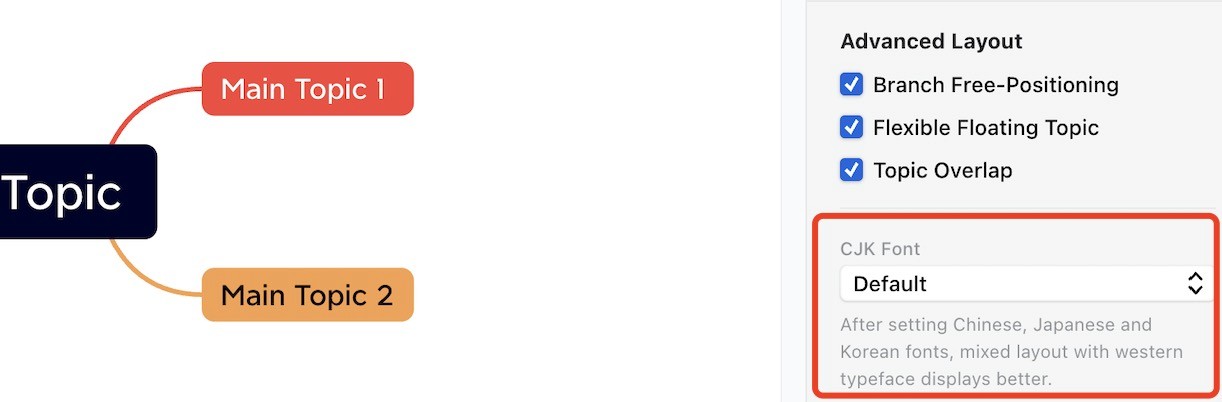
12. Topic Overlap
Turn on to allow overlapping between topics.
13. Adjust CJK Font
This settings will optimize the font effect of mixed typography with western fonts.