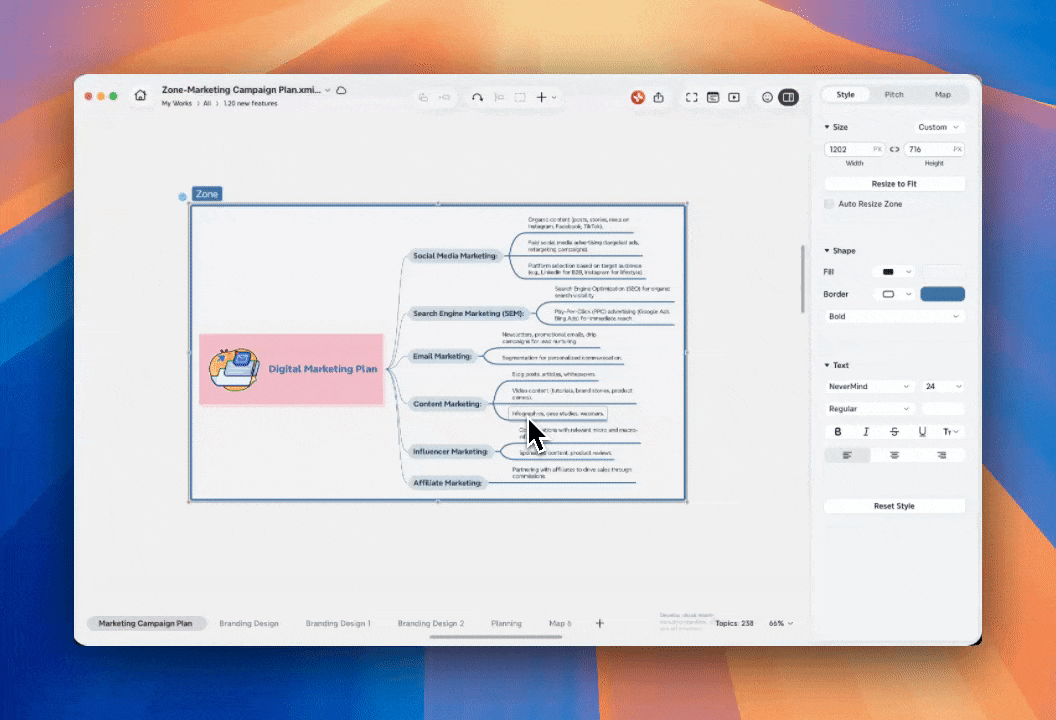
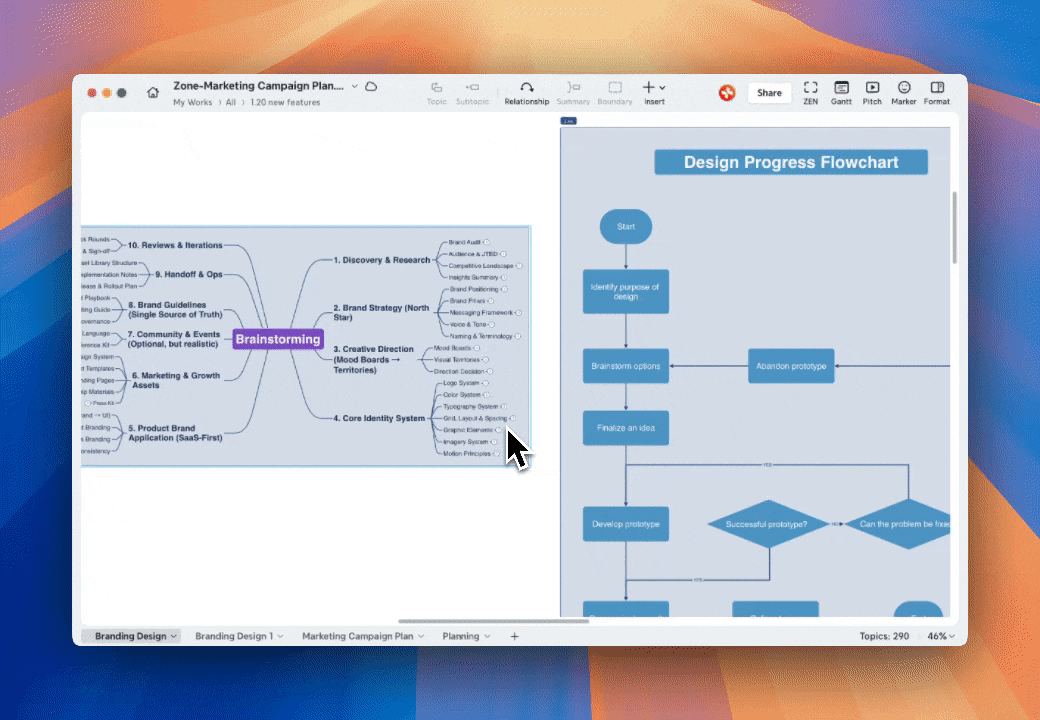
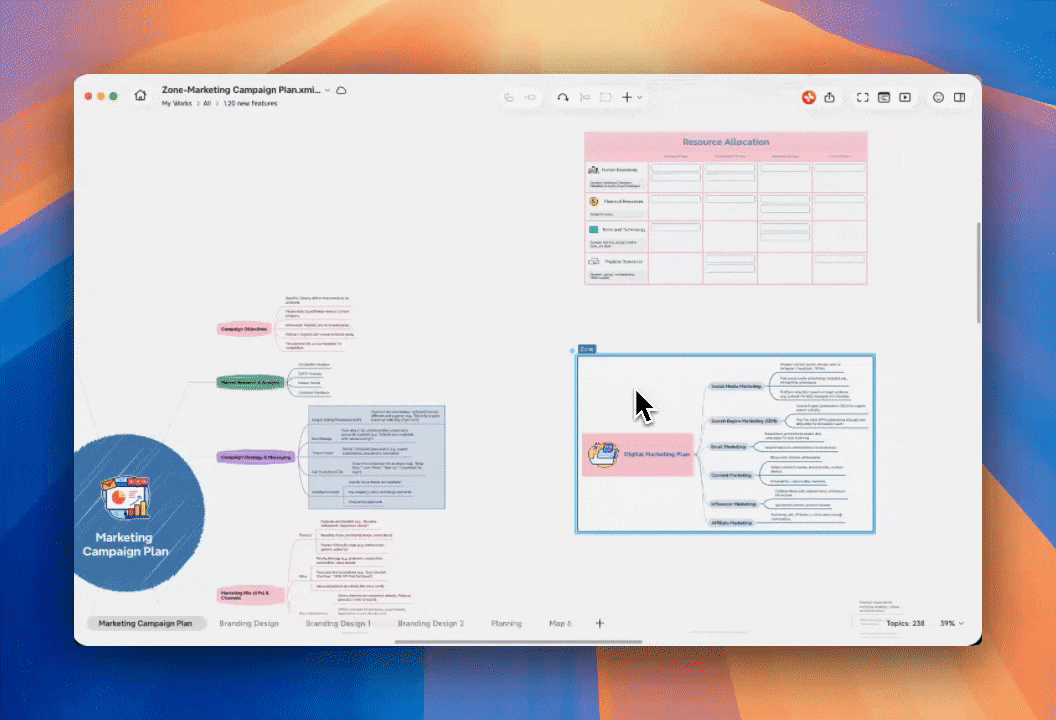
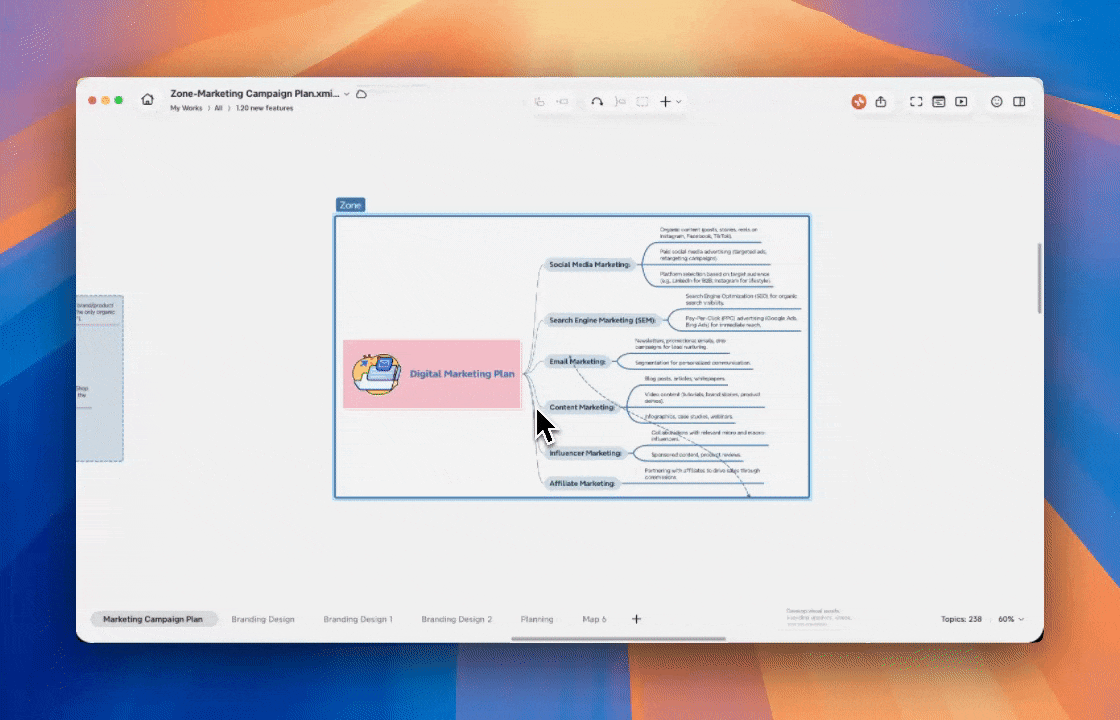
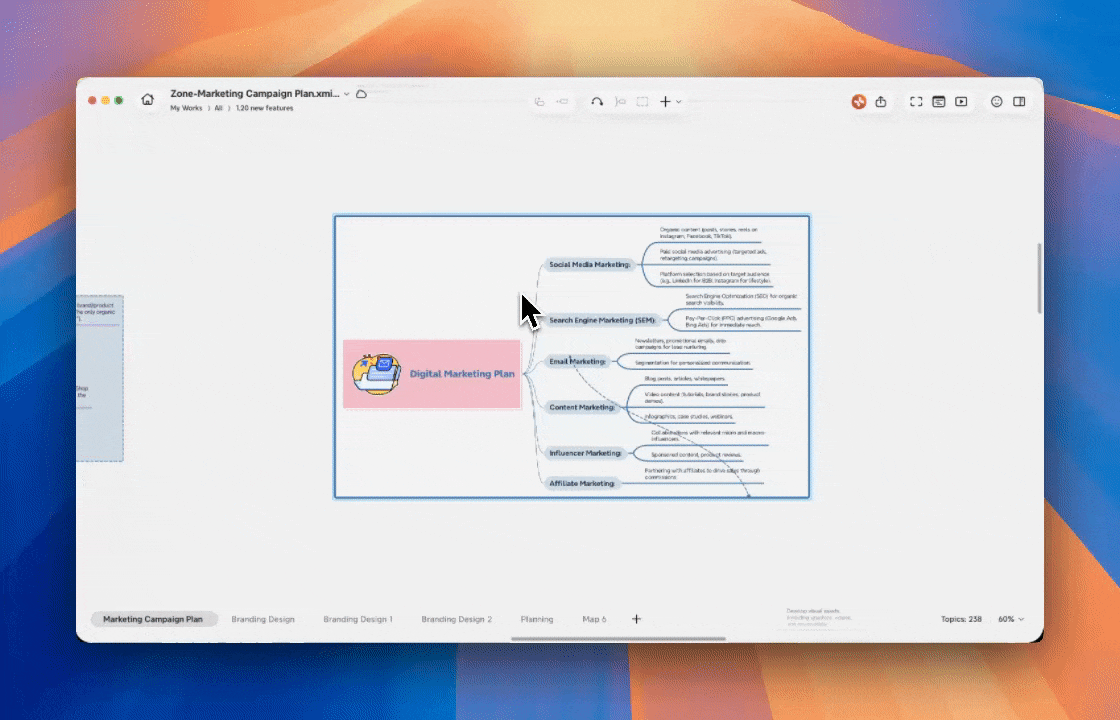
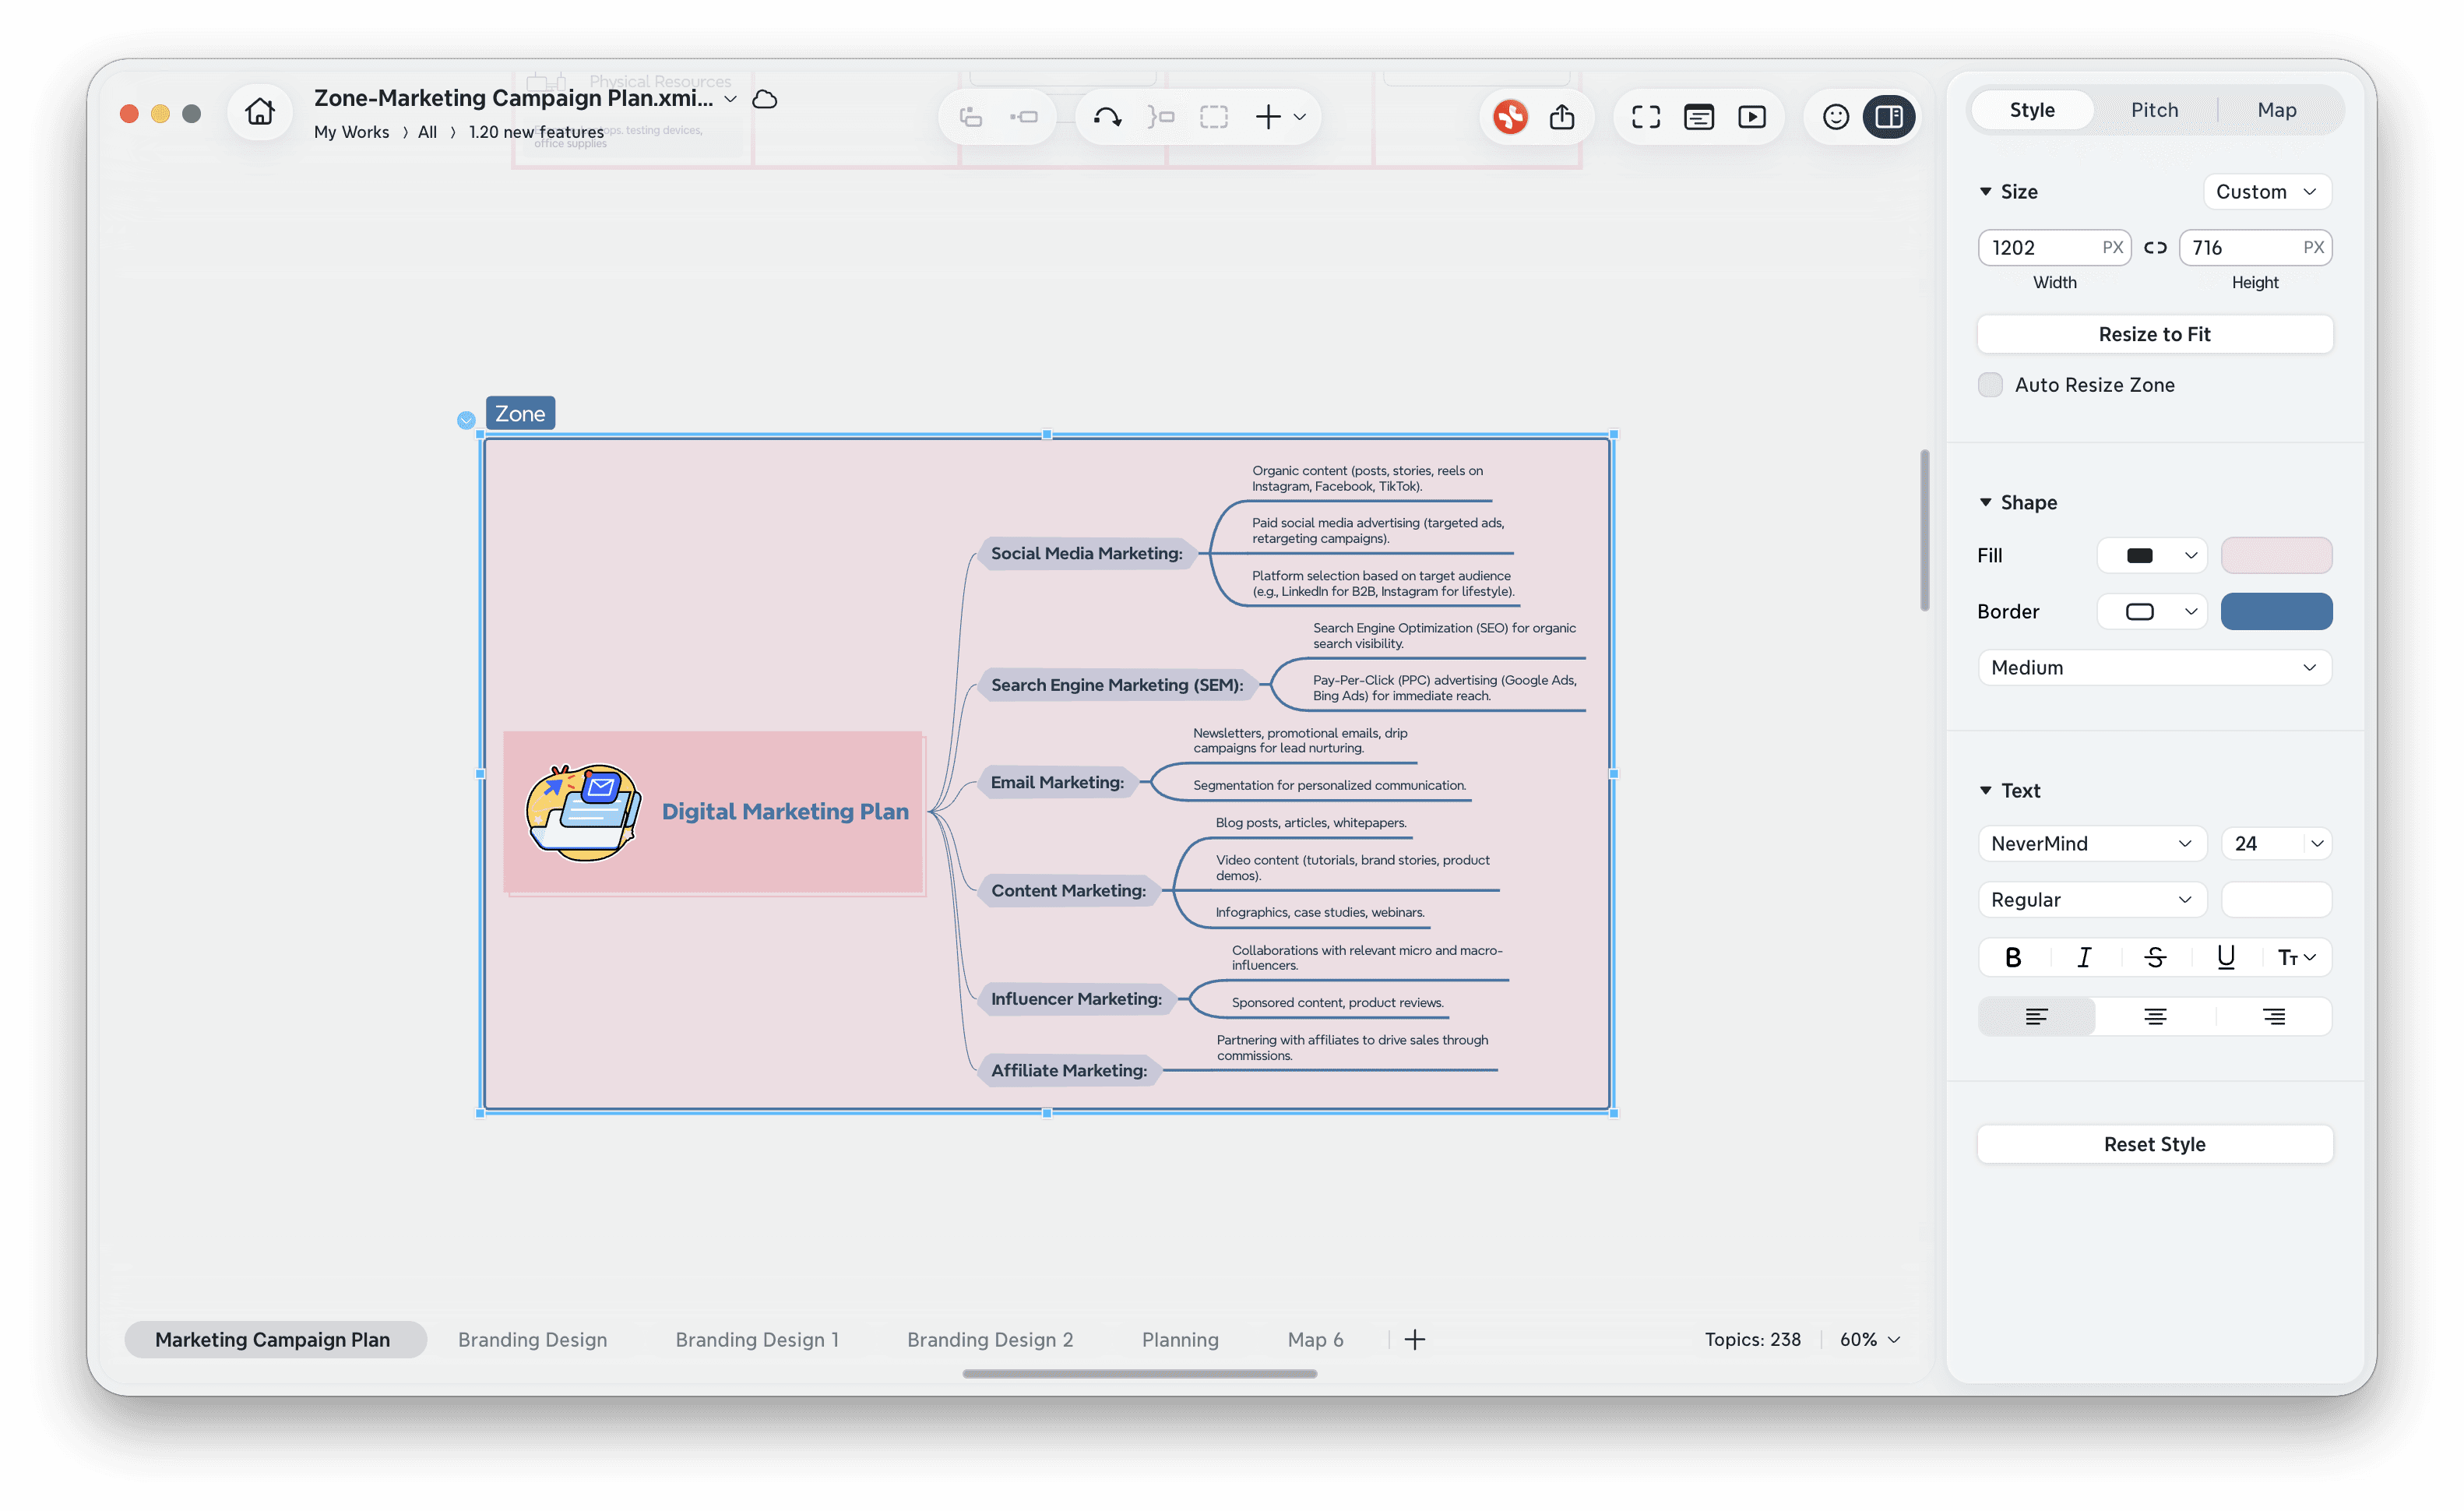
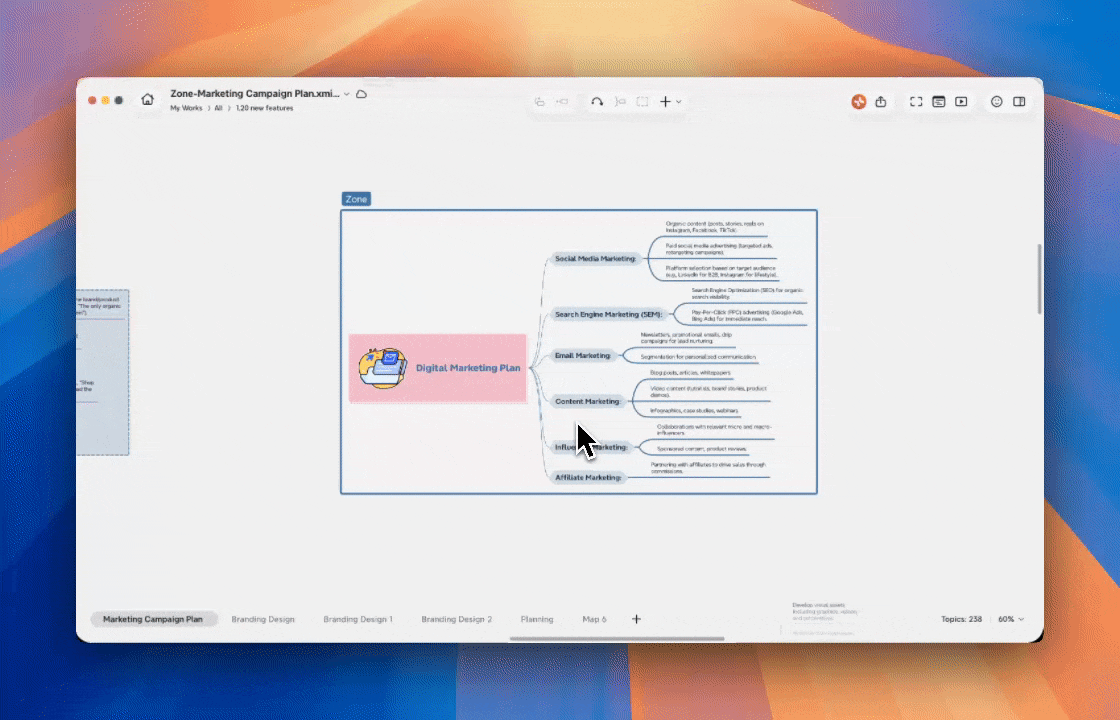
Zone
A Zone is an independent area on your mind map where you can group and manage content separately. You can edit, rearrange, export and print a Zone without affecting the rest of the map.

Create a Zone
You can create a Zone in several ways, depending on your workflow.
Create a Zone Directly
You can create a Zone from the right-click menu or the toolbar:
From the right-click menu:
1️⃣ Right-click anywhere and choose Create Zone.
2️⃣ Select the content you want to organize into the zone.
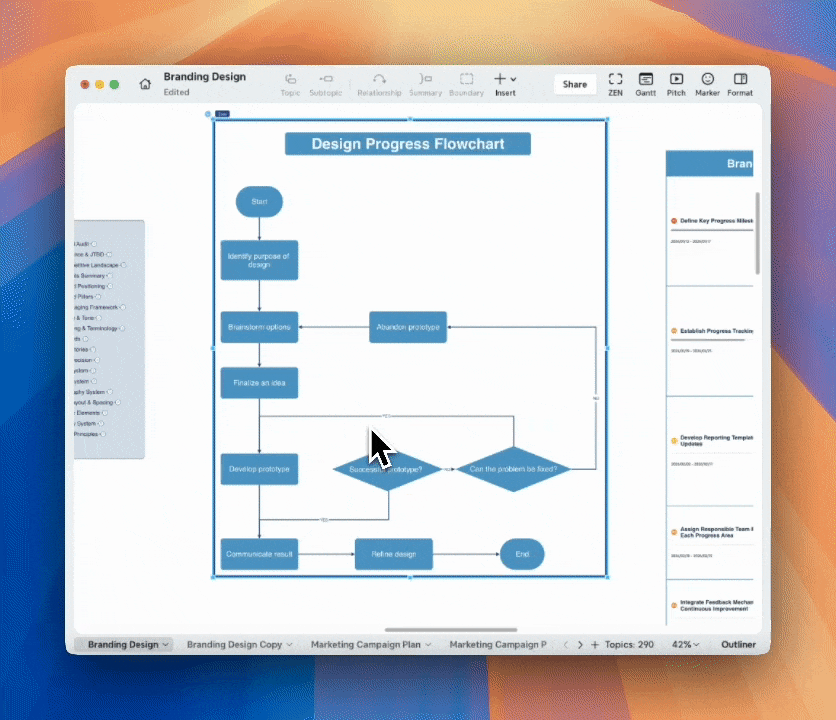
💡 Attention: Zones can only be created around floating topics and their subtopics. The central topic and its subtopics cannot be wrapped by Zones.
From the toolbar:
1️⃣ Click Insert in the toolbar and choose Zone.
2️⃣ Select the content you want to organize into the zone。
Create a Zone from existing content
1️⃣ Select one or more floating topics on the mind map.
2️⃣ Right-click and choose Create Zone.
Xmind creates a Zone that wraps around the selected content.

Create a Zone using a shortcut
macOS:
Cmd + Option + ZWindows:
Ctrl + Alt + Z
💡Attention: The center topic and its subtopics can not be organized into a zone.
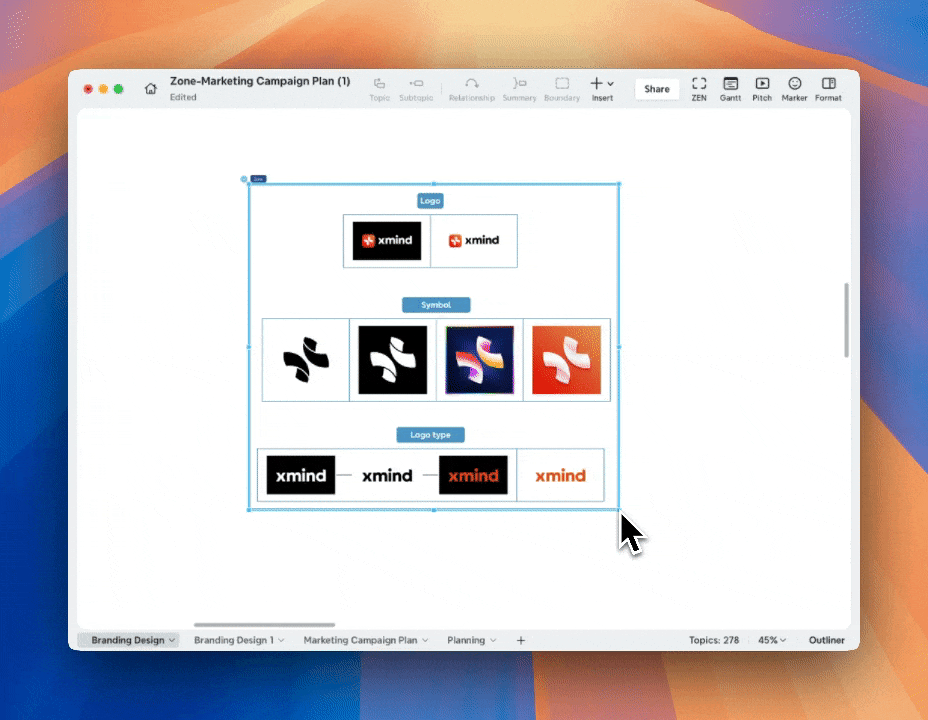
Move and Resize a Zone
You can freely adjust a Zone to fit your layout.
Move a Zone
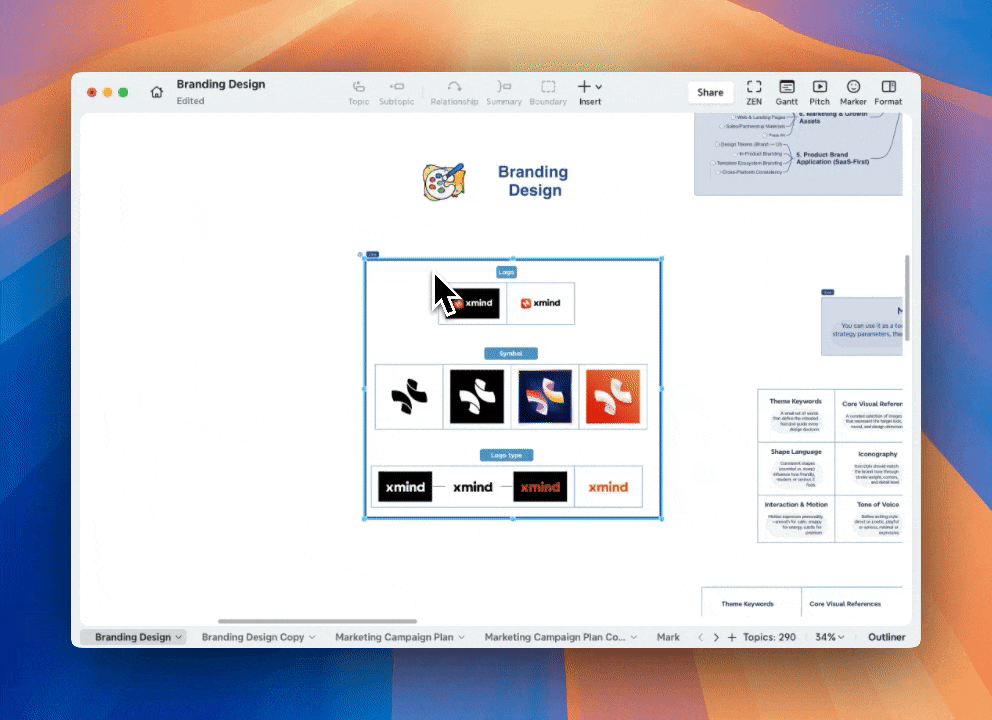
Drag the Zone to reposition it on the mind map, all content inside the Zone moves together.
Resize a Zone
Click the Zone to show resize handles, you can drag to adjust its width or height.
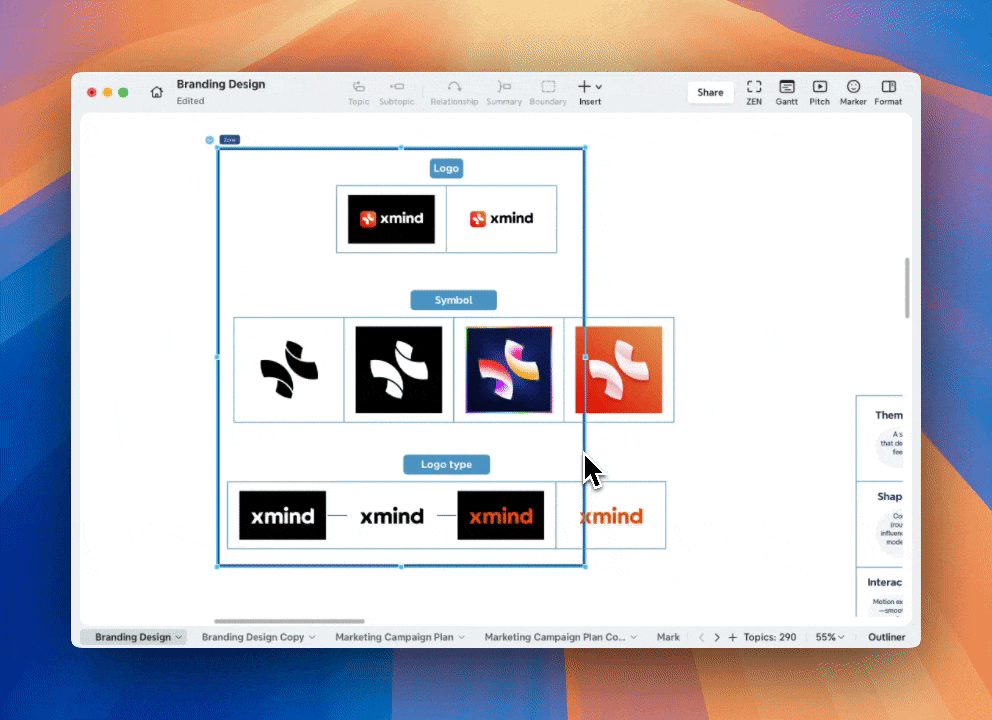
You can input the precise width or height in the edit panel.
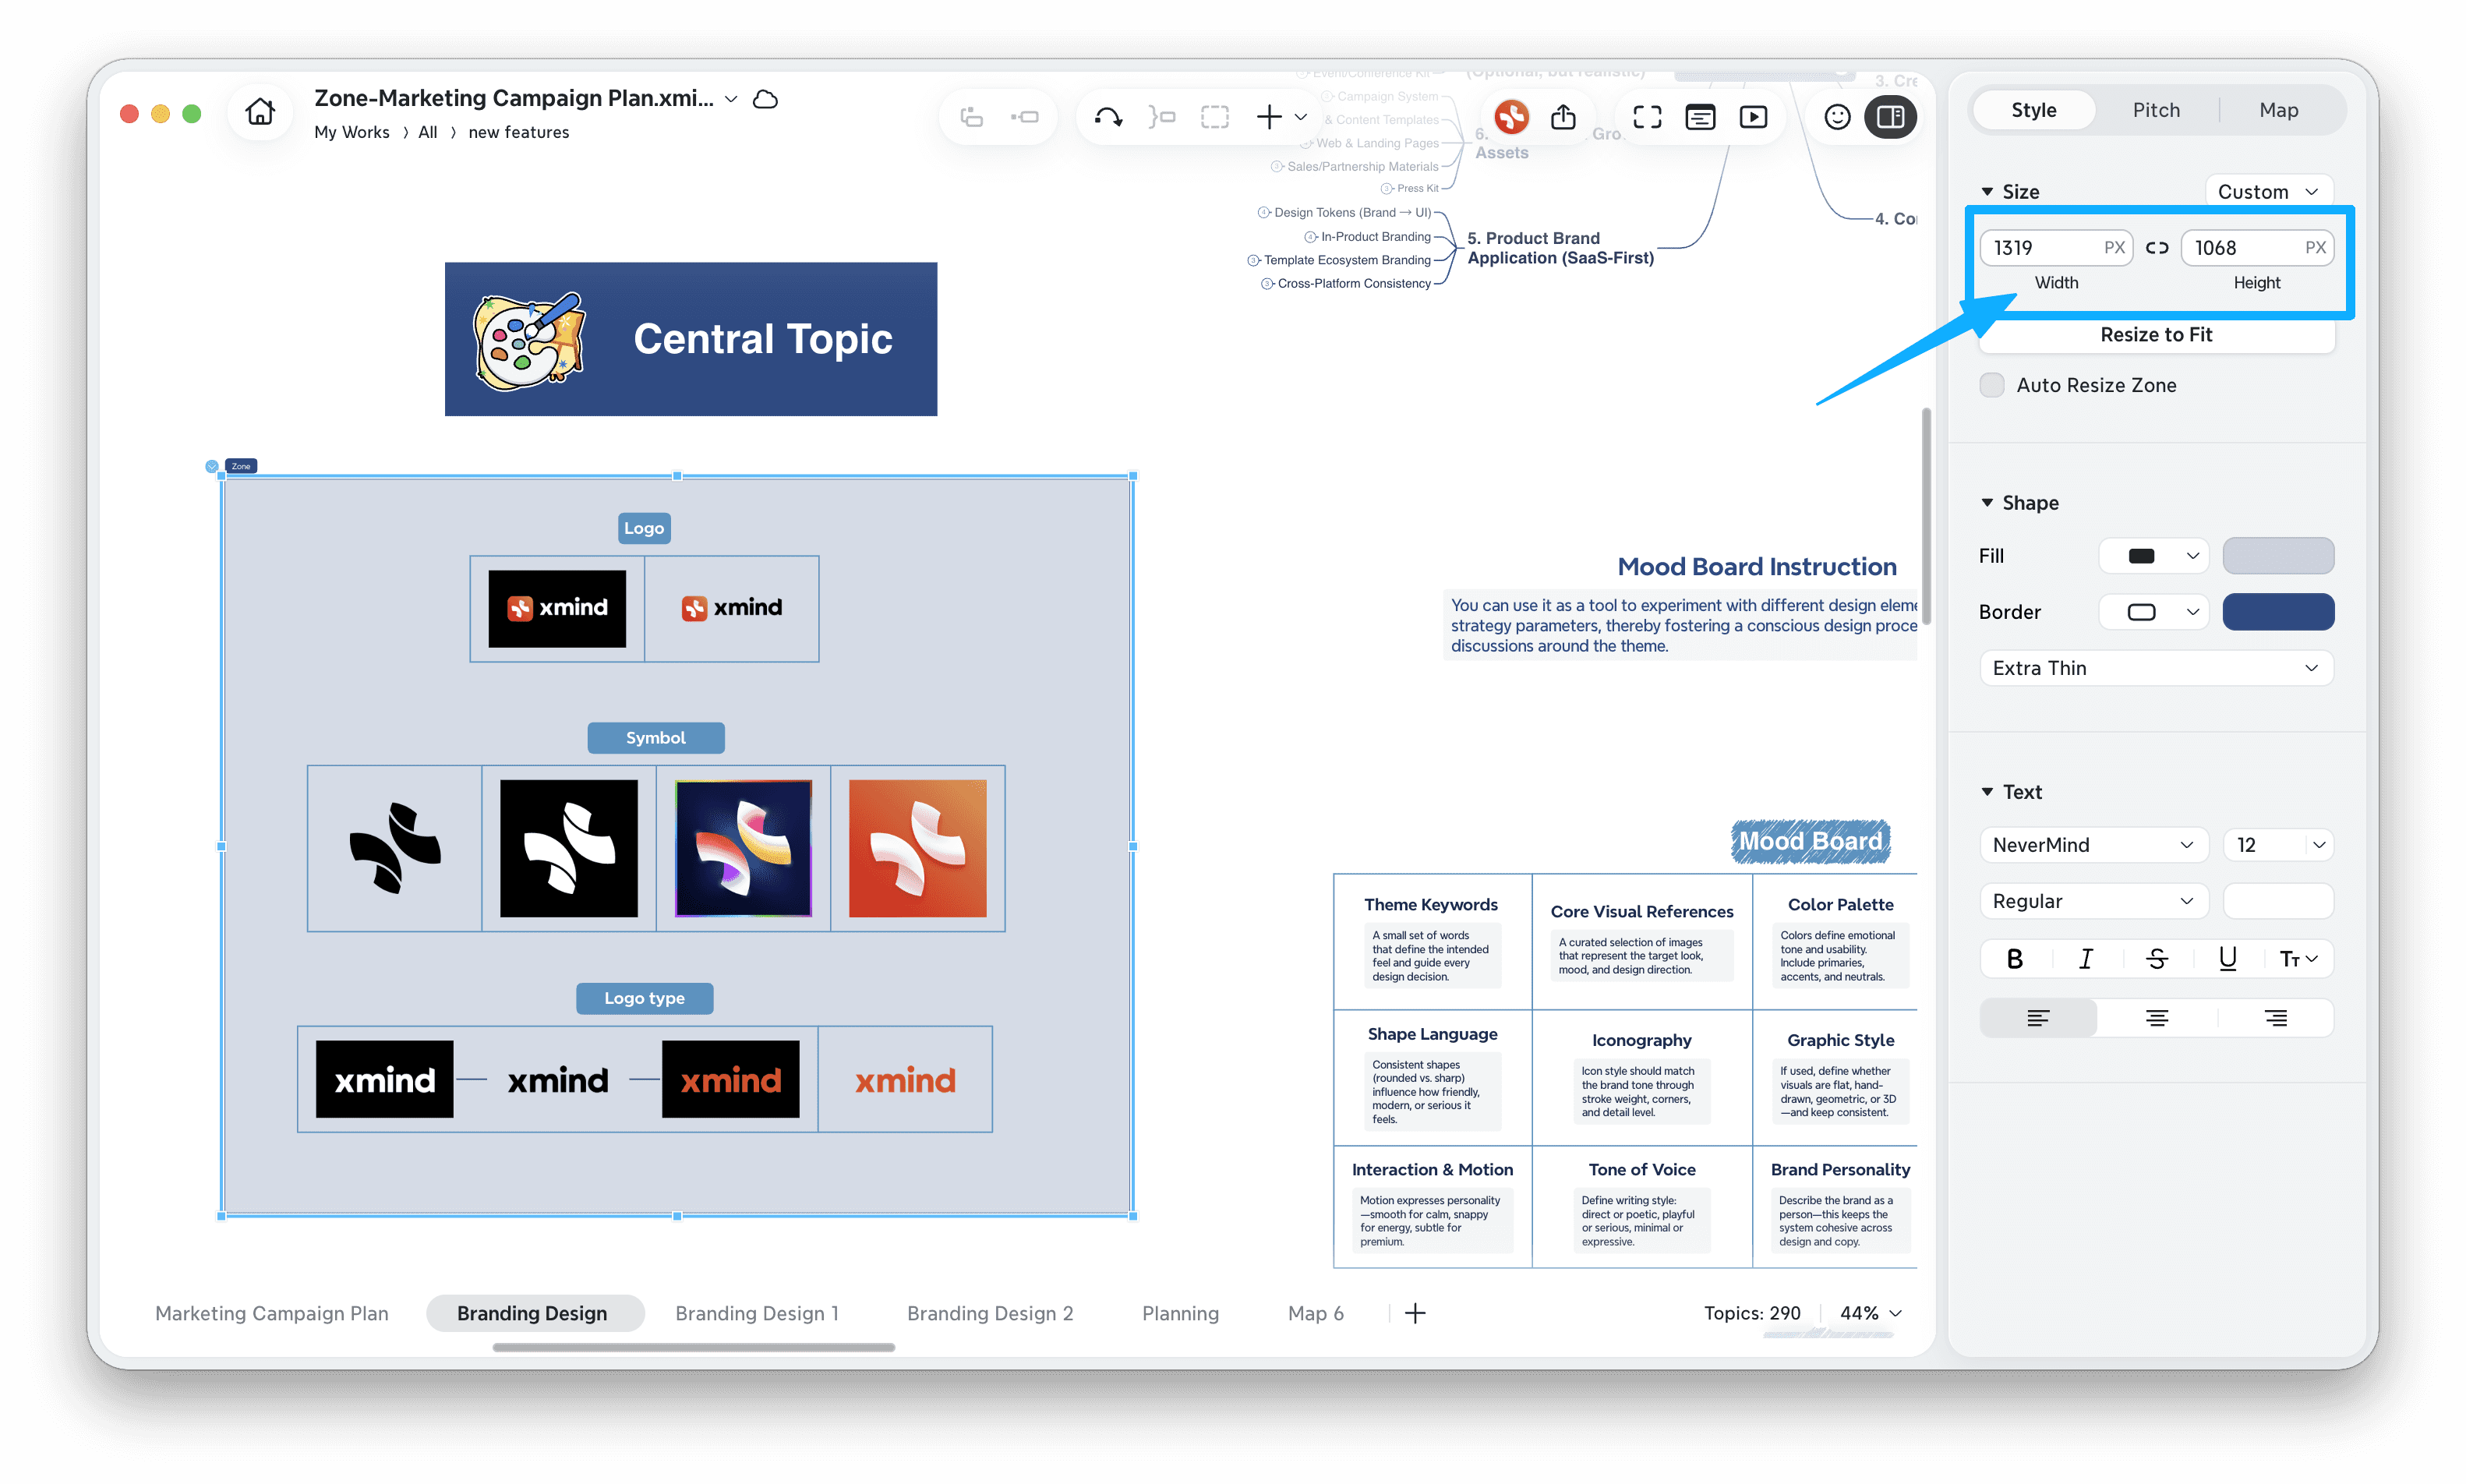
Hold Shift or click the button to keep the aspect ratio.
Hold Option (macOS) or Alt (Windows) to resize from the center.
💡 Attention: The minimum size of a Zone is 100 × 100 px.
Auto Resize Zone
1️⃣ Select a zone and enable Auto Resize Zone.
2️⃣ When you add or edit content in the zone, the zone size will automatically adjust as the content increases or decreases.
💡 Attention: When Auto Resize Zone is enabled, Resize to Fit is unavailable. If you manually resize the zone, Auto Resize Zone will be turned off automatically.
Collapse or Expand a Zone
To reduce visual clutter:
Click the collapse icon next to the Zone title.
When collapsed, only the Zone title remains visible.
Click again to expand the Zone.
Arrange Overlapping Zones
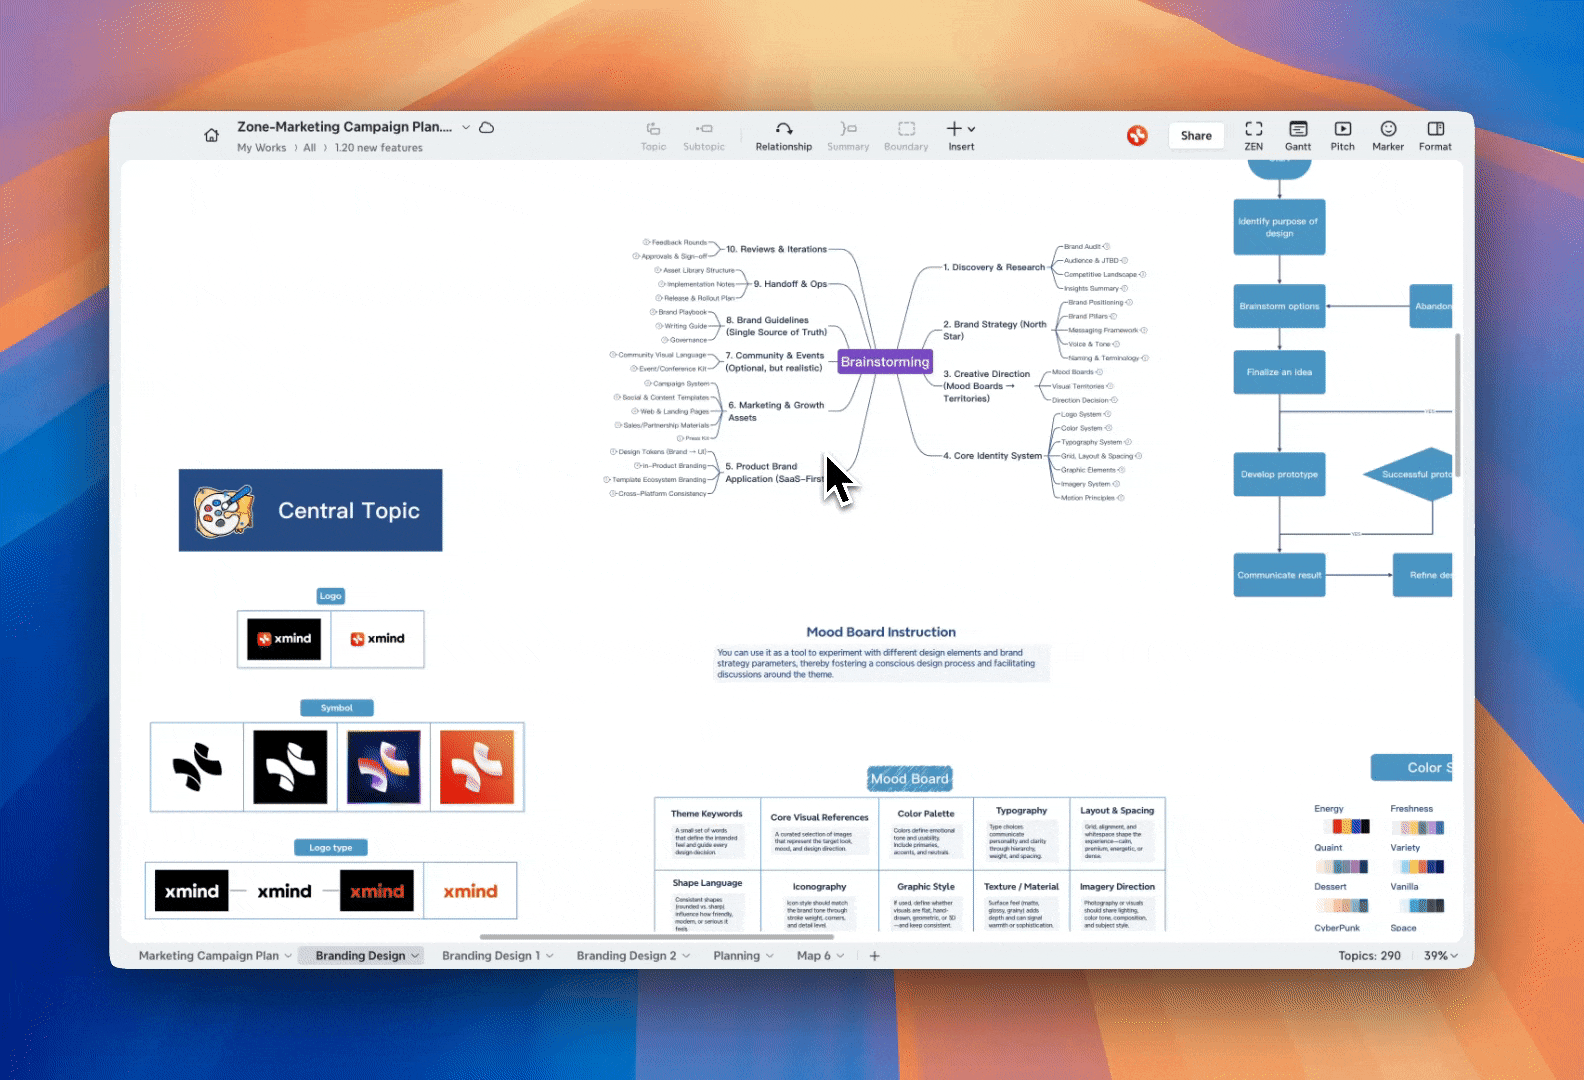
Zones can overlap on the canvas.
To control their order:
1️⃣ Right-click a Zone.
2️⃣ Choose Bring to Front, Send to Back, Bring Forward, or Send Backward.
Copy and Reuse Zones
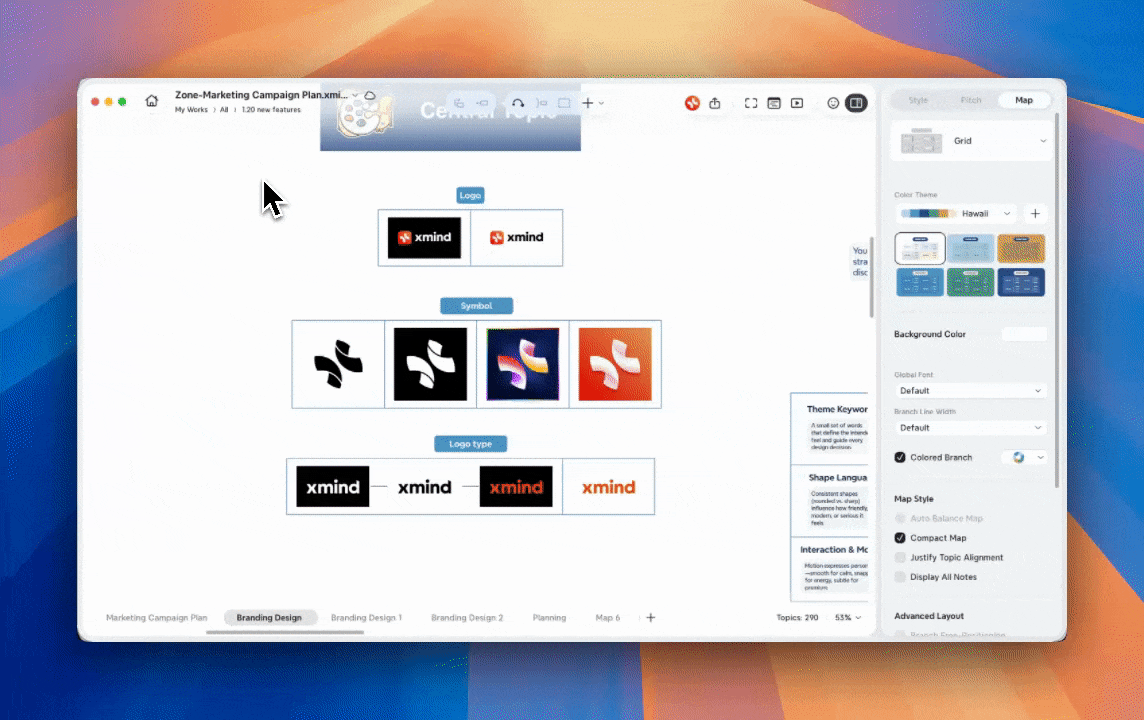
You can copy and paste an entire Zone, the copied Zone includes all content, layout, and styles.
Add Relationships
You can insert a relationship between a Zone and other supported elements.
1️⃣ Select the Zone.
2️⃣ Choose Relationship on the toolbar.
3️⃣ Select the element you want to connect to.
Supported elements include:
Other Zones
Topic, including topics already contained within the selected Zone
Boundary
Callout
Manage the Zone Title
Rename a Zone
Each Zone has a title shown in the top-left corner, you can double-click the title to rename it.
Hide or Restore a Zone Title
1️⃣ Double-click the Zone title, delete all title text, and then deselect the Zone. The title will be hidden from the canvas.
2️⃣ To restore the title area, select the Zone again. An empty title area will appear above the Zone, where you can enter a new title.
3️⃣ If you fold a Zone with an empty title, the empty title area will remain visible on the canvas so the folded Zone can still be found and selected.

Customize Zone Style
Click the Zone border, then modify the relevant styles in the Format Panel on the right.
Modify the shape of the Zone frame.
Modify the fill color of the Zone.
Modify the line style, thickness, and color of the Zone border.
Modify the font, color, size, and other text styles of the Zone title.
To restore the style from the template, click Reset Style.
Remove or Clear a Zone
Remove a Zone
Select the Zone, right click and choose Remove Zone. The Zone will be deleted, while the content inside the Zone will remain on the canvas.

Clear a Zone
Select the Zone, right click and choose Clear Content. All content inside the Zone will be deleted, but the Zone itself will remain.
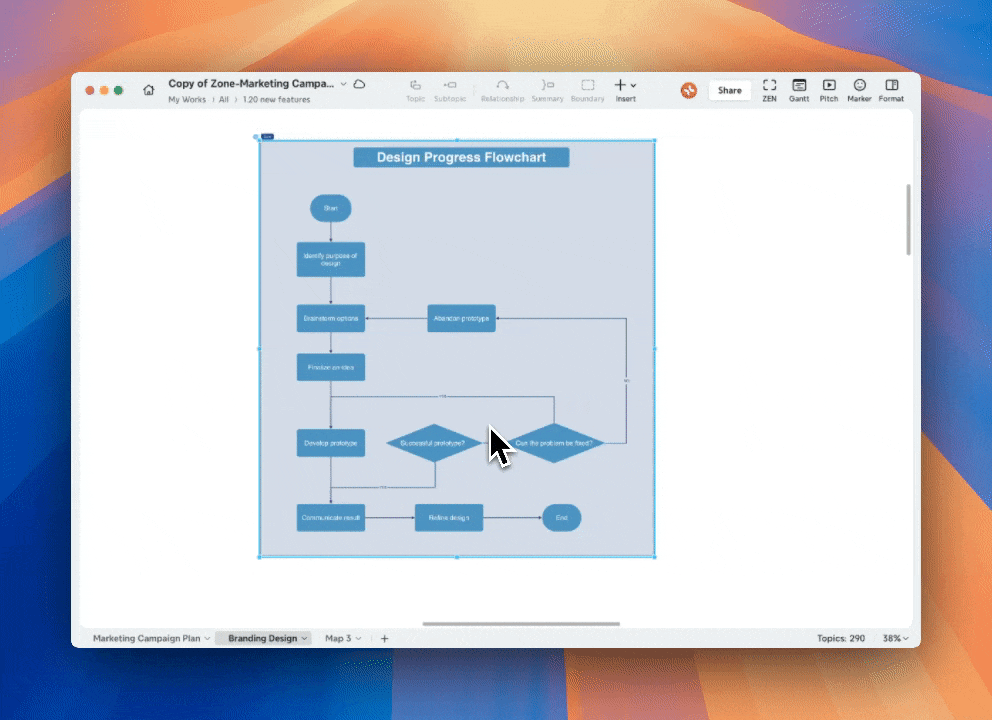
Export or Print a Zone
Each Zone can be exported or printed independently.
1️⃣ Right-click the Zone.
2️⃣ Select Export Zone or Print Zone.
Only the content inside the Zone is included.
The exported file is named after the Zone automatically.